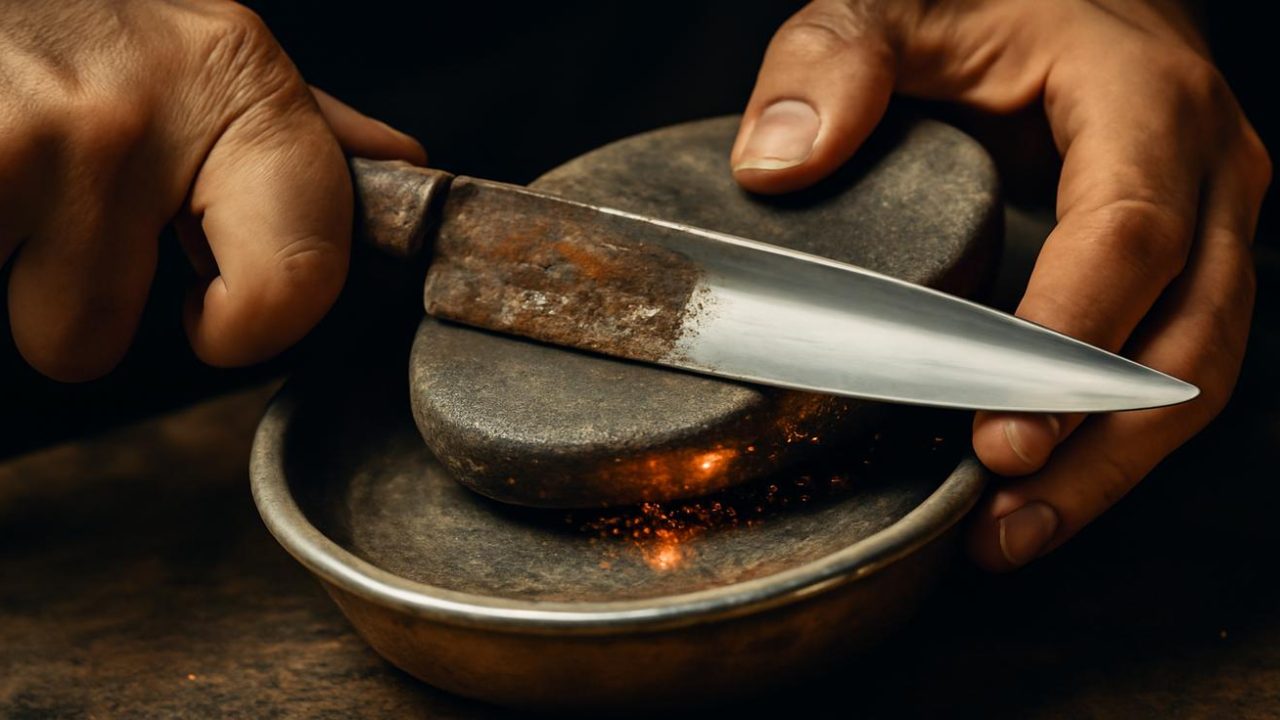
Rajesh watched his grandfather’s weathered hands move with practiced precision, transforming a dull kitchen knife into something that could slice paper with barely a whisper. The old man worked on a simple whetstone outside their Mumbai home, water dripping steadily as he maintained that perfect angle.
“Beta, in India we don’t throw away what can be fixed,” his grandfather said, testing the blade against a tomato that yielded like butter. That moment stuck with Rajesh through his engineering career, and now, decades later in his American kitchen, he uses that same technique to bring new life to forgotten blades.
What seemed like magic was actually centuries-old wisdom that anyone can master in their own home.

The Indian Approach That Changes Everything
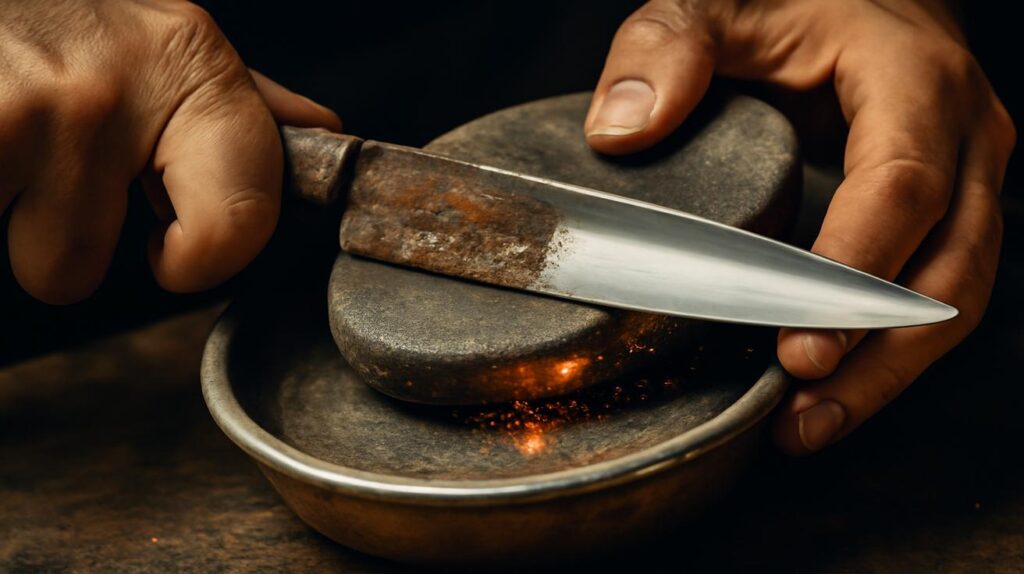
Traditional Indian knife sharpening relies on understanding angles, pressure, and patience rather than expensive gadgets. The technique focuses on creating a consistent bevel using simple tools that cost less than a single restaurant meal.
Most home cooks struggle with dull knives because they’ve never learned the fundamental principles. We reach for those pull-through sharpeners or give up entirely, not realizing that professional-level sharpness is achievable with basic equipment.
The secret isn’t in the tools—it’s in understanding how steel behaves when you work with it properly. Indians have been perfecting this for generations.
— Kumar Patel, Traditional Blade Craftsman

The method works because it addresses the microscopic level where sharpness actually happens. Instead of grinding away metal aggressively, this approach realigns and refines the existing edge.
Essential Tools and Step-by-Step Process
You need surprisingly little equipment to achieve professional results. Here’s what works:
| Item | Grit Level | Purpose | Cost Range |
|---|---|---|---|
| Coarse Whetstone | 400-600 | Repair damaged edges | $15-25 |
| Fine Whetstone | 1000-3000 | Polishing and finishing | $20-35 |
| Leather Strop | N/A | Final edge refinement | $10-15 |
| Angle Guide | N/A | Consistency for beginners | $8-12 |
The traditional Indian technique follows these key steps:

- Soak the stone: Submerge whetstones in water for 10-15 minutes until bubbles stop rising
- Find your angle: Hold the knife at 15-20 degrees per side (most Western knives need 20 degrees)
- Start coarse: Begin with 10-15 strokes on the rougher grit, maintaining consistent pressure
- Switch sides regularly: Alternate every few strokes to build an even edge
- Progress to fine grit: Repeat the process with smoother stones
- Test and strop: Check sharpness and finish on leather if desired
I’ve seen people spend hundreds on electric sharpeners when a $30 whetstone set gives better results. It’s all about technique, not technology.
— Maria Santos, Professional Chef
The key difference from Western approaches is patience and pressure control. Indian craftsmen apply steady, moderate pressure rather than aggressive grinding motions.
Why This Method Works Better Than Alternatives
Commercial sharpening systems often remove too much metal or create inconsistent angles. Pull-through sharpeners are convenient but can actually damage quality knives over time.

The traditional approach preserves your blade’s geometry while creating a more durable edge. Professional kitchens worldwide have adopted similar techniques because they produce superior long-lasting results.
Electric sharpeners work quickly but generate heat that can affect steel temper. Hand sharpening with water-cooled stones avoids this problem entirely.
When you understand the physics of what’s happening at the edge, you realize why slower methods produce better outcomes. Heat is the enemy of good steel.
— David Chen, Metallurgy Specialist

Real Results You Can Expect
Even severely neglected knives respond to this treatment. That old chef’s knife buried in your drawer can slice paper cleanly after just one proper sharpening session.
The improvement isn’t just about sharpness—properly maintained knives stay sharp longer. You’ll sharpen less frequently while enjoying consistently better performance.
Home cooks report cutting prep time significantly once their knives work properly. Tomatoes slice cleanly instead of squishing. Onions cut without tears because cell walls separate cleanly rather than crushing.

I was amazed when my grandmother’s old paring knife started performing like something from a high-end kitchen store. The technique really works.
— Jennifer Walsh, Home Cook
Common Mistakes to Avoid
Beginners often rush the process or use too much pressure. The stones do the work—your job is maintaining the correct angle consistently.
Another frequent error is skipping grits. If your knife is very dull, start with coarser stones before moving to fine finishing grits.

Don’t forget to keep stones wet throughout the process. Dry sharpening generates heat and produces inferior results.
Making It Part of Your Routine
Indian households treat knife maintenance as normal kitchen upkeep, like washing dishes or wiping counters. A few minutes of attention prevents major sharpening sessions later.
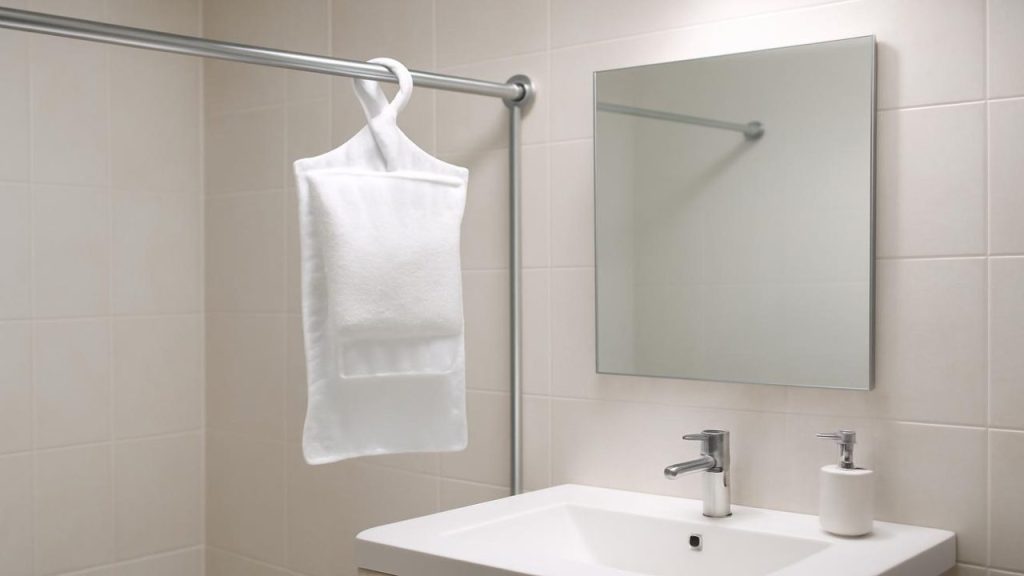
Set up a small sharpening station in your kitchen. Having tools easily accessible makes regular maintenance more likely.

Start with less expensive knives while learning. Once you’ve mastered the technique, apply it to your better blades with confidence.
FAQs
How often should I sharpen my knives using this method?
For home use, every 2-3 months is usually sufficient, depending on frequency of use and cutting surfaces.
Can this technique damage my expensive knives?
When done properly, this method is gentler than most alternatives and actually extends blade life significantly.
Do I really need different grit stones?
Yes, coarse grits repair damage while fine grits create the polished edge that gives you that razor-sharp finish.
How do I know if I’m holding the right angle?
Start with an angle guide until muscle memory develops, then practice on cheaper knives before working on premium blades.
What’s the biggest mistake beginners make?
Using too much pressure and rushing the process—let the abrasive do the work while you focus on consistency.
Can I use this on serrated knives?
Serrated blades require specialized techniques, but the principles of angle control and progressive grits still apply.


Leave a Comment