The thermostat read 72 degrees, but Patricia could feel the cold draft creeping across her ankles as she sat at her kitchen table. “Where is all this cold air coming from?” she muttered, pulling her sweater tighter. Her heating bill had jumped 40% last month, and she couldn’t figure out why her house felt like a refrigerator despite the furnace running constantly.
What Patricia didn’t know was that a simple 30-second test using nothing more than her door handle could reveal exactly where her hard-earned money was literally flowing out of her home. The door handle test has become a game-changer for homeowners trying to pinpoint heat loss without expensive equipment or professional inspections.
Millions of Americans are dealing with the same frustrating mystery Patricia faced. Your home feels cold, your energy bills are skyrocketing, but you can’t figure out where the problem is coming from. The solution might be as close as the nearest door.

The Simple Science Behind Door Handle Detection
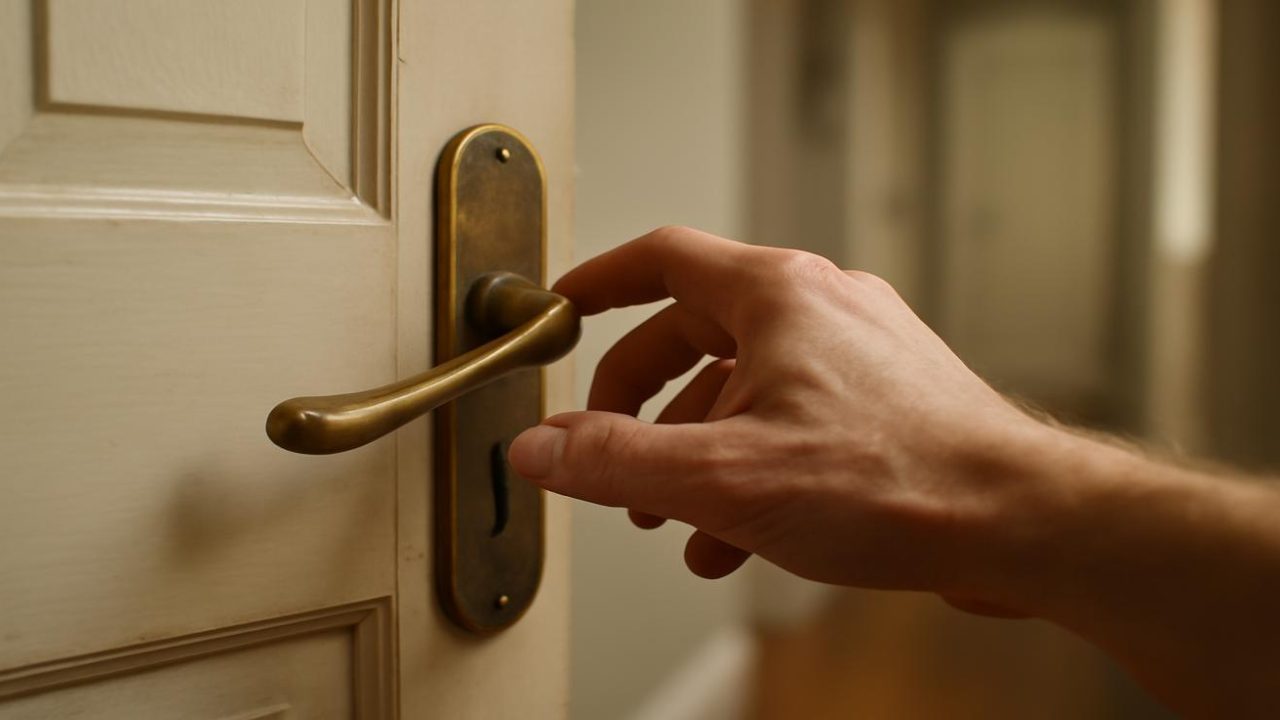
The door handle test works on a basic principle of heat transfer. When warm air escapes through gaps around doors and windows, it creates temperature differences that you can actually feel with your bare hands. Door handles, being made of metal, conduct temperature changes quickly and noticeably.
Here’s how the test works: On a cold day, simply place your hand on various door handles throughout your home. If a handle feels noticeably colder than others, it’s likely that cold air is seeping in around that door frame, or warm air is escaping through gaps.
This test is surprisingly accurate because metal door handles act like temperature sensors. They’ll quickly reflect the ambient temperature around the door frame, giving you an instant reading on potential heat loss.
— Marcus Chen, Energy Efficiency Consultant

The beauty of this method is its simplicity. You don’t need thermal imaging cameras or expensive detection equipment. Your hands can detect temperature differences as small as 3-5 degrees, which is often enough to identify problem areas.
But the door handle test is just the beginning. Once you’ve identified a potentially problematic door, you can perform additional quick checks to confirm heat loss.
Step-by-Step Heat Loss Detection Guide
Beyond the basic door handle test, here’s a comprehensive approach to identifying heat loss in under 30 seconds per location:

- Touch Test: Place your hand on the door handle, then the door frame, then the door itself
- Visual Check: Look for visible gaps, worn weatherstripping, or daylight coming through
- Paper Test: Close a piece of paper in the door – if you can pull it out easily, there’s a gap
- Candle Method: Hold a lit candle near door edges – flickering indicates air movement
- Feel for Drafts: Run your hand slowly around the door frame perimeter
| Temperature Difference | Heat Loss Level | Action Needed |
|---|---|---|
| 1-3 degrees | Minor | Monitor, minor weatherstripping |
| 4-7 degrees | Moderate | Replace weatherstripping, check alignment |
| 8+ degrees | Severe | Professional inspection, possible door replacement |
I’ve seen homeowners cut their heating bills by 15-20% just by addressing the issues they found with this simple test. It’s remarkable how much money literally flows out through gaps we can’t even see.
— Rebecca Torres, Home Energy Auditor
The key is systematic checking. Don’t just test your front door – check every exterior door, including patio doors, basement doors, and garage entries. Each one could be a significant source of energy loss.

What Your Door Handles Are Actually Telling You
Different temperature readings reveal different problems. A handle that’s ice-cold might indicate major air infiltration, while one that’s just slightly cool could suggest minor weatherstripping issues.

Location matters too. A cold handle on a north-facing door might be normal, while the same temperature on a south-facing door could indicate serious problems. Context is everything when interpreting your results.
The door handle test saved me about $300 last winter. I found three doors with serious draft issues that I never would have noticed otherwise. Fixed them all for under $50 in weatherstripping materials.
— David Kim, Homeowner and DIY Enthusiast
Time of day also affects accuracy. The test works best when there’s at least a 20-degree difference between indoor and outdoor temperatures. Early morning or evening hours often provide the most dramatic results.

Beyond Doors: Expanding the Test
Once you’ve mastered the door handle technique, you can apply the same principle to other metal fixtures around your home. Window latches, light switches on exterior walls, and even metal outlet covers can reveal temperature variations that indicate heat loss.
The test works year-round too. In summer, unusually warm handles might indicate cool air escaping, driving up your air conditioning costs. The same gaps that let heat out in winter let cool air out in summer.
This test should be part of every homeowner’s seasonal routine. It takes minutes but can save hundreds of dollars annually. I recommend doing it at the start of each heating and cooling season.
— Amanda Rodriguez, HVAC Technician

Smart homeowners are using this technique as part of regular home maintenance, checking door handles monthly during extreme weather seasons. It’s become as routine as checking smoke detector batteries.
The financial impact can be substantial. According to energy efficiency studies, air leaks around doors and windows account for 25-40% of heating and cooling costs in typical homes. A simple 30-second test repeated throughout your home could identify hundreds of dollars in annual savings.
Remember, the goal isn’t perfection – it’s identification. Once you know where the problems are, you can prioritize repairs based on severity and cost-effectiveness. Sometimes a $5 roll of weatherstripping can solve a problem that’s costing you $50 monthly in wasted energy.

FAQs
How accurate is the door handle test compared to professional energy audits?
While not as precise as thermal imaging, the door handle test can identify 70-80% of major air leaks that professionals find.
What time of day works best for this test?
Early morning or evening when outdoor temperatures are most different from indoor temperatures provide the clearest results.
Can I use this test on interior doors?
Yes, but it’s most effective on exterior doors where temperature differences are greatest.

How often should I perform this test?
Monthly during heating and cooling seasons, and whenever you notice unexplained increases in energy bills.
What if all my door handles feel the same temperature?
This could indicate either excellent insulation or that outdoor temperatures aren’t different enough from indoor temperatures for accurate testing.
Do different types of door handles affect the test accuracy?
Metal handles work best, while plastic or wooden handles are less sensitive to temperature changes and may not provide reliable results.


Leave a Comment